Friday, October 5, 2012

Winner!

Michelle Wong is the winner of the custom friendship bracelet contest!  Here is her custom bracelet in greens, yellows and brown.


If you're super jealous of Michelle's awesome bracelet go here to order your own https://www.etsy.com/listing/107457506/custom-made-friendship-bracelet

Let me know colors, patterns, and anything else you want.  I'll try to make it happen.

Tuesday, September 11, 2012

Tarot Find

My boyfriend found these amazing vintage tarot cards.  I love them, and I'm going to figure out something really cool to do with them.  When I do, you'll be the first to know!


Friday, September 7, 2012

Beans


I was soaking beans for dinner tonight, and was struck by the beautiful colors, the way the water magnifies each bean, and the wrinkled patterns on some of them.   I just had to take a picture of them.

On another note, apparently beans and rice are better for you together.  My mom read that somewhere, and cites it almost every time I tell her that I'm trying to figure out what to make for dinner!

Saturday, August 25, 2012

Kiva Team Treasury

Kiva Team Treasury


Check out this treasury of items that benefit kiva.  Kiva is a microlending site, where small loans from real people make a difference in the lives of individuals, families, and communities.  http://www.kiva.org/

Wednesday, August 15, 2012

Friendship Giveaway

Friendship is free, and so is a custom bracelet or necklace made by me. Here are the styles that you can choose from http://www.etsy.com/shop/RooTwo.  All of the pieces are inspired by the friendship bracelet, but have a sophisticated twist.

To enter the giveaway pick your favorite design, and let me know what your favorite color combo is right now, by commenting below.  Also be sure to leave your email, so I can contact you if you are the winner.  If you are randomly selected, I will make your design for you.

I'm so interested to read your comments.  So get to writing and thinking about color!

Wednesday, July 4, 2012

Full Circle

The friendship/camp bracelet trend is everywhere right now.  I've been somewhat obsessively working on a few of my own little twists on the trend, and frantically trying to get them posted in my shop.  I love mixing mediums and materials, so macrame mixed with all of the other styles of jewelry that I've worked on in the past is just what I've been looking for to get my creative juices flowing.

So yesterday in the midst of all of my mad designing and knotting, I suddenly realized that I am 7 again.  At around that age I bought a Klutz book that had instructions for bunches different types of friendship bracelets.  I got a bit stuck making stripes.  I was 7 after all, and had only just figured out how to braid.  But once I FINALLY figured out the chevron pattern, I was a bracelet making machine.

At the same time in my second grade class, my awesome teacher set up a whole little main street economy.  We worked in pairs at assigned stores.  I specifically remember the bakery (which was obviously the best), but I sold magazines, which was pretty definitely the most boring station.  So...I'm sure you already know where this is headed...my friend Valerie and I opened a jewelry business, where we sold top quality friendship bracelets.  I don't remember how popular our shop was, but I do know that it was WAY better than magazines.
I've come full circle.  Here I am at, 24 pursuing my dream at 7.  How could I have forgotten my macrame dreams!  So glad I found them again.  

Thursday, February 16, 2012

Flower Hairpiece Tutorial

One of the great things about this project is that it has a lot of room for creativity and experimentation without necessitating any fore-knowledge.  If you know how to wield some scissors and a glue gun, you are already on your way to creating flower hairpieces.  It's a great way to play with colors and use a variety of different materials.


You'll need:
1. Fake Flowers- the ones I used are made of thick paper (I got them from AC Moore)
2. Glue gun
3. Alligator hair clips
4. Scissors
5. Felt
6. Odds and ends (Sequins, sharpies, a matchless earring, and tulle.  In other pieces I have used buttons and ribbon.)

Cut a piece of felt as your anchor for the flowers.  I have found that a kidney shape works well.  The anchor should be 3-4 inches long and 1-2 inches at the widest point.  These are of course just suggestions, if you want to make more of a statement go BIGGER!

Choose flowers that go well together and arrange them on top of the felt anchor.  Do your best to cover all of the felt.  Try to layer the flowers on top of each other to create depth.  Place sequins and buttons over the flowers, until you are reasonably pleased with the result.  I find that it isn't necessary to reach perfection before gluing.  It's often easier to place one or two flowers, and work around them.

I started gluing on the largest side of the kidney shape, with one two layered flowers, and moved to the other side, gluing a few flowers at a time.

To create some height, I used tulle.  I wanted to replace the height usually achieved with feathers with a more animal friendly alternative.  To create the tulle accent, cut out a circle of tulle, about 4 inches across.  Cut a pie piece out of the circle that is 1-2 inches around the "crust."  With the remaining circle fold the tulle accordion style, flattening out the fan shape.  Put a dot of glue on the tulle underneath the flower petals, then press the "handle" of the fan into the glue.  Spread the fan out, and glue the edges down on the felt, underneath the petals.

I placed glue dots on the tulle fan, and after they dried, colored the glue dots with a sharpie.  An alternative is to glue sequins or beads on the tulle fan.  You can also glue a ribbon bow as an accent.  After placing the finishing touches on the hairpiece flip it over.

Place a stripe of glue on the back side of the hairpiece, and stick the alligator clip down on it.

Carefully open the clip, being careful not to unstick the bottom.  Put another stripe of glue, and place a piece of felt in between the two sides of the clip.  Let the clip close, after the glue dries trim around the edges of the new piece of felt.

When you put the hairpiece up to your head, you will notice that one side sticks up because of the hinge.  To fix this, place a bit of glue near the hinge, and carefully bend the felt around the clip.  Hold this in place for a few seconds until it dries to make the clip rounded.


You now have a beautiful cruelty-free hairpiece.  Enjoy, and add a little pizzazz to your next outfit!

Saturday, January 7, 2012

Designing with Roo


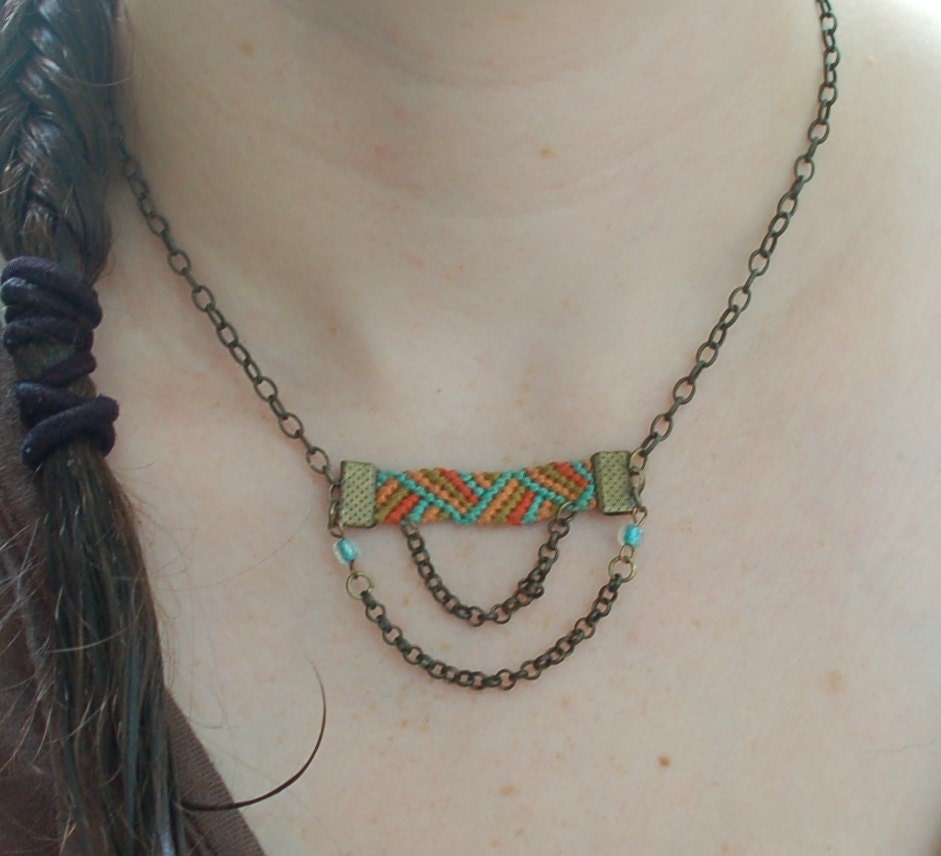
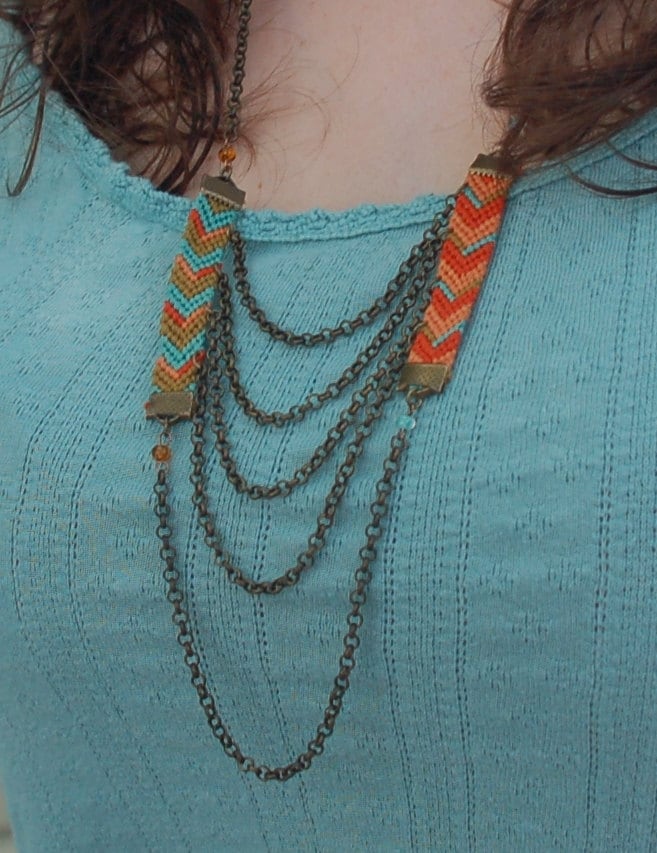
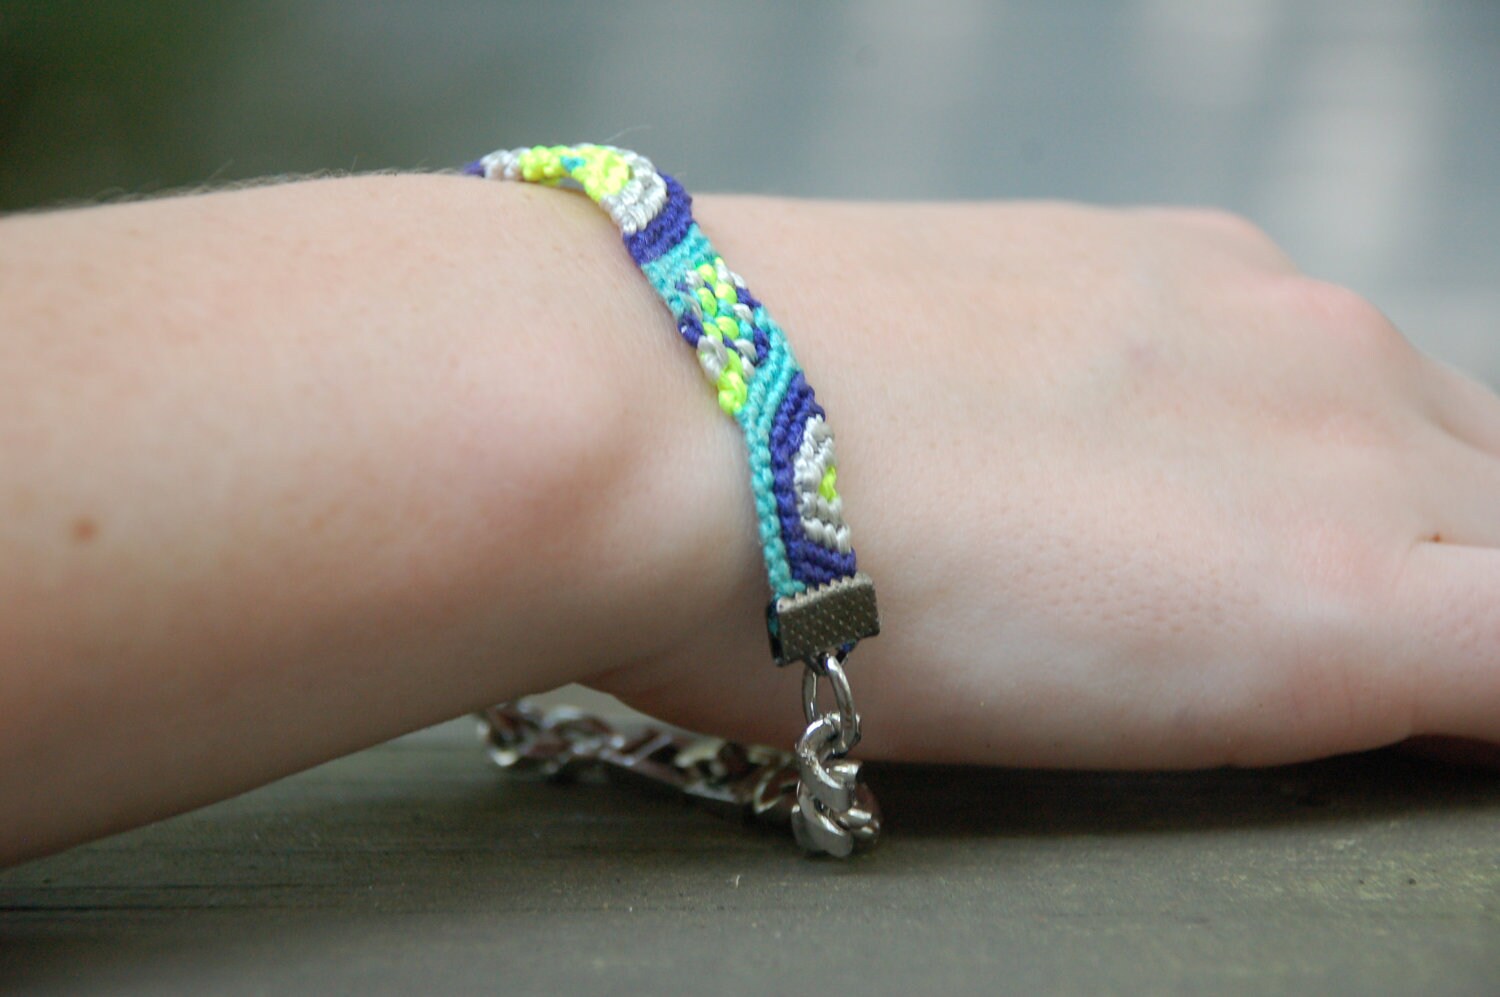
We're changing a few things around the ajoeynamedroo shop.  First, as you can see here, some of our design elements.  "Roo" is making appearances everywhere; the blog, the banner, even the products.  Mitchell, my helpful and talented boyfriend has been hard at work updating everything!  The labels are on their way out 1 by 1.  Here's our first one, Free Love:


It's amazing how invested we've become in the new labels.  They feel like our babies.  So much arguing, compromise, and embarrassingly tears (mine) went into them.  When I saw the actual printed labels, I couldn't stop gushing.  Just like any proud parent, I can't imagine anything more beautiful.

Also expect some changes in our lotion scents in the near future.  We're keeping similar themes, but using mixtures of essential oils to achieve our delicious scents.  Can't wait for our new order of supplies to come in so we can get started!

Look out for our new scent combos in the next few days.