Showing posts with label color. Show all posts

Thursday, February 16, 2012

Flower Hairpiece Tutorial

One of the great things about this project is that it has a lot of room for creativity and experimentation without necessitating any fore-knowledge.  If you know how to wield some scissors and a glue gun, you are already on your way to creating flower hairpieces.  It's a great way to play with colors and use a variety of different materials.


You'll need:
1. Fake Flowers- the ones I used are made of thick paper (I got them from AC Moore)
2. Glue gun
3. Alligator hair clips
4. Scissors
5. Felt
6. Odds and ends (Sequins, sharpies, a matchless earring, and tulle.  In other pieces I have used buttons and ribbon.)

Cut a piece of felt as your anchor for the flowers.  I have found that a kidney shape works well.  The anchor should be 3-4 inches long and 1-2 inches at the widest point.  These are of course just suggestions, if you want to make more of a statement go BIGGER!

Choose flowers that go well together and arrange them on top of the felt anchor.  Do your best to cover all of the felt.  Try to layer the flowers on top of each other to create depth.  Place sequins and buttons over the flowers, until you are reasonably pleased with the result.  I find that it isn't necessary to reach perfection before gluing.  It's often easier to place one or two flowers, and work around them.

I started gluing on the largest side of the kidney shape, with one two layered flowers, and moved to the other side, gluing a few flowers at a time.

To create some height, I used tulle.  I wanted to replace the height usually achieved with feathers with a more animal friendly alternative.  To create the tulle accent, cut out a circle of tulle, about 4 inches across.  Cut a pie piece out of the circle that is 1-2 inches around the "crust."  With the remaining circle fold the tulle accordion style, flattening out the fan shape.  Put a dot of glue on the tulle underneath the flower petals, then press the "handle" of the fan into the glue.  Spread the fan out, and glue the edges down on the felt, underneath the petals.

I placed glue dots on the tulle fan, and after they dried, colored the glue dots with a sharpie.  An alternative is to glue sequins or beads on the tulle fan.  You can also glue a ribbon bow as an accent.  After placing the finishing touches on the hairpiece flip it over.

Place a stripe of glue on the back side of the hairpiece, and stick the alligator clip down on it.

Carefully open the clip, being careful not to unstick the bottom.  Put another stripe of glue, and place a piece of felt in between the two sides of the clip.  Let the clip close, after the glue dries trim around the edges of the new piece of felt.

When you put the hairpiece up to your head, you will notice that one side sticks up because of the hinge.  To fix this, place a bit of glue near the hinge, and carefully bend the felt around the clip.  Hold this in place for a few seconds until it dries to make the clip rounded.


You now have a beautiful cruelty-free hairpiece.  Enjoy, and add a little pizzazz to your next outfit!

Saturday, July 23, 2011

Home Renovations: The Bedroom

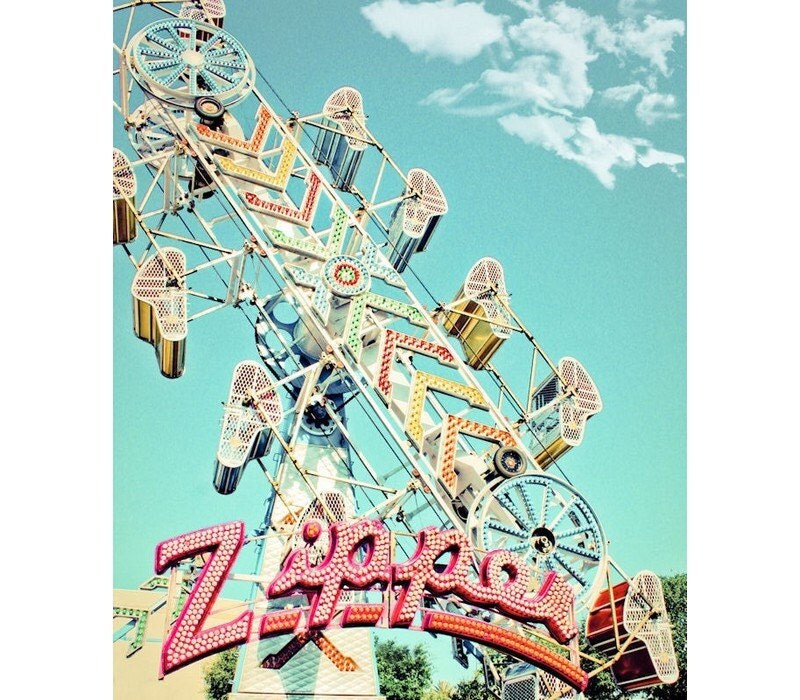
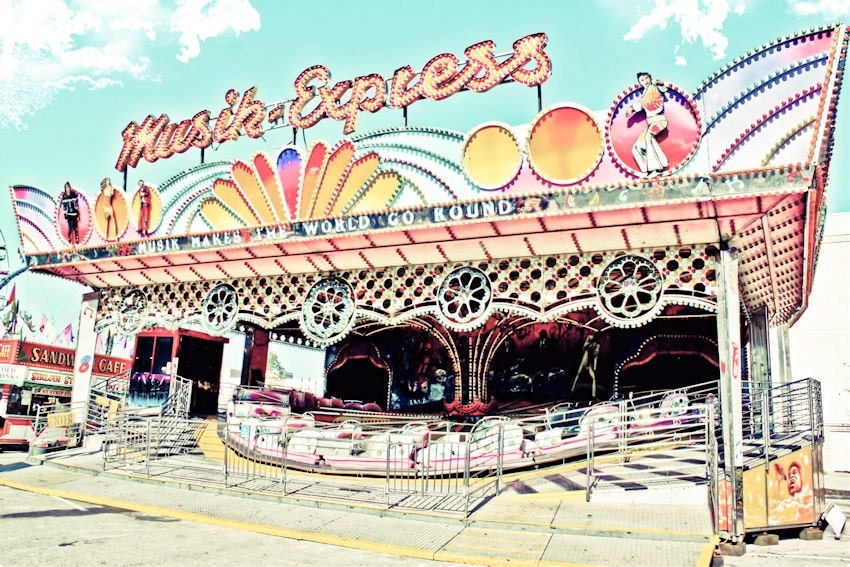
I recently moved into a new house and I've done A LOT of renovations.  I'm going to start my renovation recap with one of the bedrooms.  I was inspired by an etsy treasury I created sometime last year that featured carnival colors and circus staples.  For my color palette, I wanted to go with the bright pastels you see on carnival rides:  sea green, hot pink and baby pink, and pale yellow.
To recreate the theme, I used a base coat of Valspar's Mermaid's Song, and created a trim in Valspar's Hot Passion Pink.  The trim was easy and relatively mess free.  I think it took me about two hours to complete the entire border.  I chose a damask pattern I found at Michael's.  My only complaint is that once I saw it on the walls, I wanted to paint it everywhere.  Once I find a crafty idea I like, I sprint with it!

I wanted something really cool for the walls, and I found an etsy seller that matched my aesthetic perfectly.  Eyeshuttertoforget sells amazing vintage-inspired prints that are beautiful, whimsical, calming, and nostalgic, all at the same time.  I love the subject and the colors.


I wanted the prints to make a statement, so I chose three 16x20 photographs.  Deciding which three I wanted was so difficult; there are so many fabulous prints to choose from!  I finally decided on the three above.  I bought silver poster frames on sale at Michael's, and I used hot pink spray paint on plain cardboard to make the mat. 


I absolutely adore all the prints.  They arrived super quickly and in perfect condition.  The seller even sent along a little 5x7 freebie of a merry-go-round horse.  I love everything from this shop and I definitely want to get more photographs.  

I added a fun and sparkly vase with glittered flowers to complement the pictures.  The vase is an empty wine bottle from World Market, and the flowers are from Michael's - I edged the them in glue and sprinkled them with glitter. 
 
Also complementing the theme are pieces of hard candy made from glass that I inherited from my grandma.  The cabinet is my most prized possession - my amazingly talented significant other made it for me for Valentine's Day a couple of years ago.  

He designed and constructed the entire piece completely by hand.  I am encouraging him to do some pieces for his etsy shop WhiskeyBent; right now he sells hand-tooled leather flasks that he literally cannot keep in stock.  I also made my own decoupaged light switch plates to match the decor.  Tutorial coming in the next post! (Yeah, I know - he can make an entire piece of furniture from scratch and I can decoupage...life is so not fair).  


.Love.
Rachel