Saturday, August 17, 2013

All Veggie Sushi

My best friend is moving to Chicago, so for her goodbye party I made some veggie friendly sushi.  I was REALLY happy with the way it turned out!  Tasty & pretty to boot...

I followed sushi directions from various recipes that I found online.  This site's a good one, http://makemysushi.com.  Generally for the sushi, you'll need sushi rice, sushi rice vinegar, and nori.  

If you've never tried making an inside out roll, it's not as challenging as it looks.  http://norecipes.com/blog/caterpillar-roll-recipe/#sthash.sQ2hkGTI.dpbs.  I used this recipe as a rough guide.  Read through the directions first, and follow them carefully.  You'll be pleasantly surprised with the results!

The rolls are easier to cut if the knife is wet.


Dried Cranberry, Fried Garlic, Chopped Walnut, and Cream Cheese
To Prep
  • fry whole garlic cloves in toasted sesame oil
  • finely chop walnuts
  • cut strips of cream cheese
After Spreading the Rice Across the Nori
  • sprinkle the chopped walnut into the rice, and press in
  • Make a line of cream cheese, dried cranberries, and fried garlic
Now roll it up & enjoy!


Mango with Spicy mayo, topped with "Raw" Tomato
To Prep
  • Cut Mango into strips
  • Peel heirloom tomatoes of at least 2 colors, and de-seed them.  
  • Cut the "meat" of the tomato into thin triangular strips
  • Create spicy mayo by mixing: mayo, chili sauce & toasted sesame oil
  • Put spicy mayo mixture in a ziploc bag
Inside Out Roll
  • Place mango strips onto nori
  • Cut the corner of the plastic bag, and squeeze a line of spicy mayo
Roll it Up!
  • Place the tomato strips on top of the roll, alternating colors
  • Give the roll an extra pat to secure the tomatoes
  • Optionally, add some more spicy mayo & tempura pieces on top

Sweet Potato and Green Onions with Cream Cheese
To Prep
  • Cook the sweet potato, peel, and cut into strips
  • Using only the green portion, cut 2 inch pieces of onion
  • Cut strips of cream cheese
After Spreading the Rice Across the Nori
  • Optionally, spritz the rice with lemon juice, and freshly grind pepper over rice
  • Make a line of sweet potato, onion, and cream cheese


Monday, July 15, 2013

Bringing my work home with me!

I've got glasses on the brain!  Here's my June in a pair of cat-eyes.  Thinking of selling prints.  I don't have a lot of experience with graphic design, but I played with it for a long time, and I'm happy with the result.

My colored pencil drawing is layered over some gorgeous mixed backgrounds from a set of tarot cards.  I also cropped the spectacles from the tarot card scan.  I really love the butterfly effect on the glasses.

CAT EYE

Tuesday, July 9, 2013

Animal Names


Some people have been interested in how I create my animal name art pieces.  There are actually quite a few steps!


Sketch

First, I find animal images that fit the letters that I'm using, and the theme that I am creating.  The example above are marine animals, and the name is "Andrea."  I use the images to make hand drawn sketches of each animal.  I make adaptations to make the animals look more like the letters needed.  Then, I place each of the letters across my lovely piece of white art paper.


Tracing

I trace my sketches onto my nice white paper with a leadless mechanical pencil, or sometimes a tiny crochet hook (whichever I run across first).  When I'm done, I have nicely embossed animals, all in white.


 Add Some Color!

The last step is the most fun, and work intensive.  I add color to each of the animals, with high quality artist's pencils.  Each animal takes about 45 minutes to get just right!


...And Andrea's name is done.  Ready for framing and hanging!

Monday, June 10, 2013

Ajoeynamedroo a little greener!

We've always made an effort to use recycled packing materials.  Recently, I've realized that there are a few more steps I can take to make the shop greener.

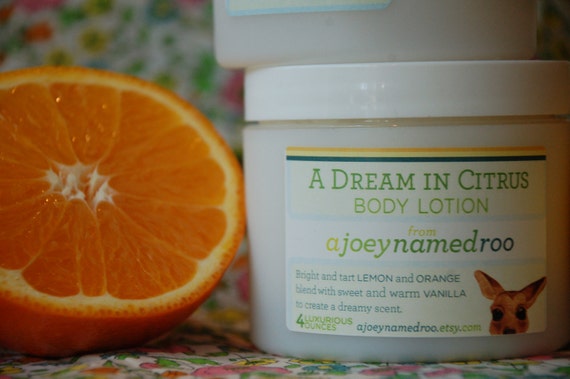
First, I've changed the lotion containers to recyclable jars.  I originally picked them based solely on aesthetic value and availability.  I've just kept the same ones without thinking for years.

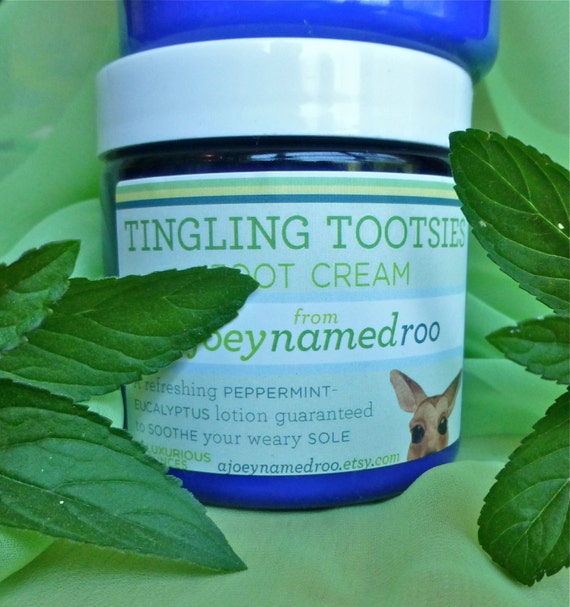
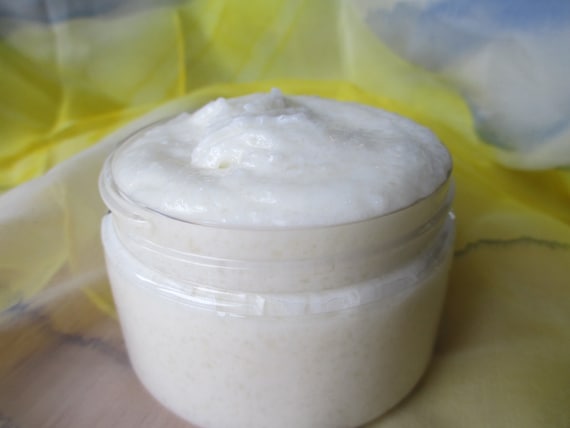
The new jars are clear for the regular body lotions, and tardis blue for the specialty hand and foot creams.  They looks a little smaller, but I swear, they are still 4 ounces!  They are slightly taller and narrower.
https://www.etsy.com/listing/97303776/tingling-tootsies-foot-cream-4-oz


Also, I've decided to stop shrink wrapping.  Heating plastic is bad for the environment and our bodies.  The extra plastic is just going to be peeled off as soon as the customer receives it!

Friday, March 15, 2013

Reaching out to Asheville

Asheville is the most arts friendly, locally-centered place that I've ever been.  So, moving back here means a real opportunity.  Everyone here seems to evaluate 'place' in a way that I haven't seen elsewhere.  A lot of cities are struggling to define themselves, but Asheville is expanding its definitions while it grows.  I am ready to be part of it.

Being involved is something that I have always struggled with.  I have a hard time reaching out, and I have a tendency to talk myself out of new experiences.  I have one little plan, and I'm documenting it, which means that it is HAPPENING.  Get my crafts in some local stores!  It's something I've wanted to do for a long time, and I've made some baby steps in the past.  This time though, I'm following through!

I feel like Asheville is begging me to jump in...


Saturday, March 9, 2013

Coupon Codes for YOU!

I'm so glad to have kept ajoeynamedroo open.  I love the products, and so do our wonderful loyal customers!

I thought that I wanted to quit the business because everything in my life was changing.  The shop turns out to be one element of stability.  I love that I can give people the products that make them feel great about themselves.  Each and everything that I ship from ajoeynamedroo really is made with love, like it says on the label (although now it's made with love in Asheville).  A huge thank you to all of the amazingly loyal customers, and those of you who are giving the products a try for the first time.

To celebrate the continuation of ajoeynamedroo use the coupon code BACKINBLACK1 for 10% off at check out.
https://www.etsy.com/shop/ajoeynamedroo

Also check out my shop with accessories (jewelry, scarves, headbands...) use code SPRINGYRSTEP for 10% off.
https://www.etsy.com/shop/RooTwo


Tuesday, March 5, 2013

Spring Sale

I haven't talked about the ajoeynamedroo bath & body shop in a while, but I am hard at work bringing my stock back up to snuff.  Yesterday, I made a batch of Floral Bouquet just in time for spring.  I've decided to put it on sale to celebrate the approaching warm weather!


Usually floral scents are not my favorite, but since this one is all natural, it doesn't have any of the cloying top notes that have turned me off of florals in the past.

The Floral Bouquet scent really does have a full bouquet.  It starts with a base of the nutty, sweet scent of cocoa butter.  To that I add just a hint of woodsy cedar essential oil.

For the florals I add the richness of jasmine essential oil, romantics of rosewater, and the delicately intoxicating scent of ylang ylang essential oil.

To top it off with a bit of citrus, I add lemon essential oil.

https://www.etsy.com/listing/97537680/floral-bouquet-lotion-4-oz-spring-sale

Saturday, March 2, 2013

Shop Spring Cleaning

As I mentioned in an earlier post, I have decided to list ALL of my craft endeavors in my RooTwo etsy site.  I want my shop to look like a little boutique, so in that vein, I wanted to arrange my shop window!

I decided to organize the shop into what I think of as mini treasuries.  Each row has its own color theme.  I started with cute pastels for spring, and green for St. Patrick's Day.  I'm planning on rearranging frequently with the seasons, and my changing moods.

With the shop freshly organized, I guess it's time to delve into my actual as opposed to virtual space!


Wednesday, February 27, 2013

Jack of all Trades

For years I have been trying to define my "story" in my etsy shop by limiting myself to one style or idea.  Every few weeks I have this grand idea: "this is the one!"  I go into full production mode for a few weeks because I know that this is the idea that will actually garner sales.  After a while I get frustrated with the lack of interest, and half-heartedly make and don't finish a few more.


My latest 2 "this is it" moments:
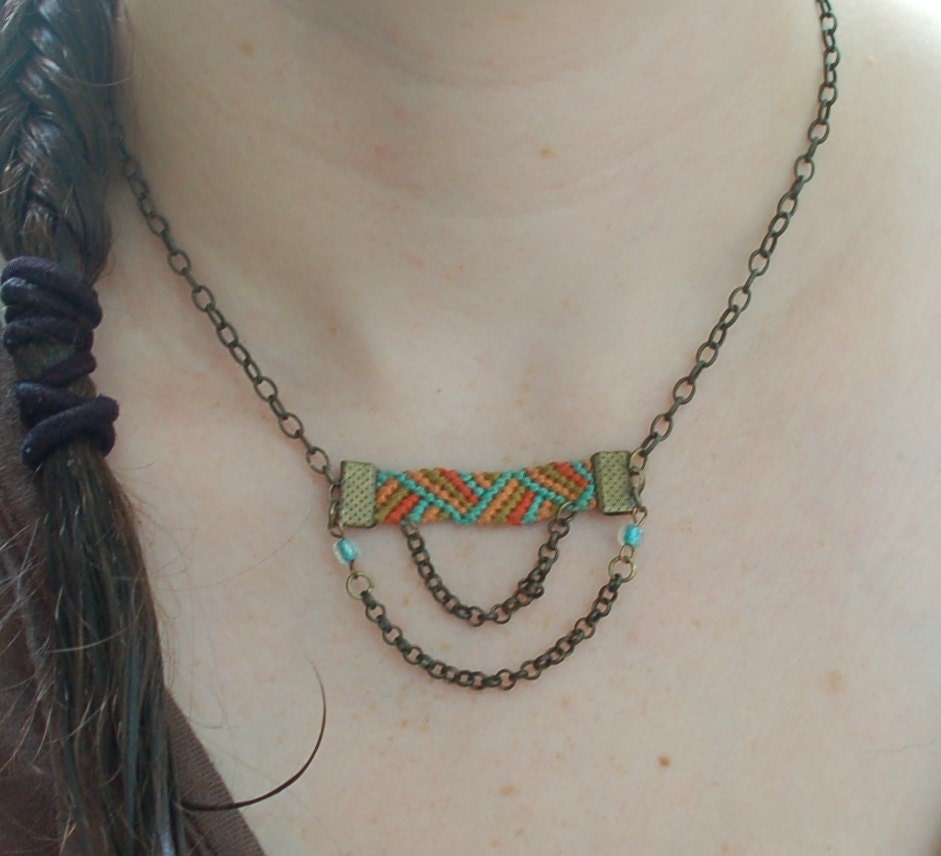
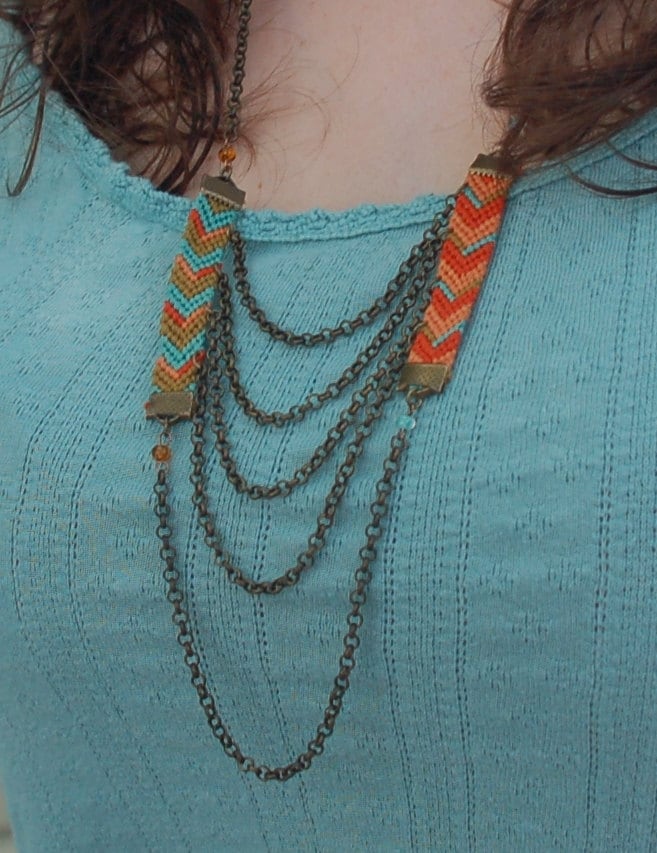
"Friendship Bracelet" Necklaces

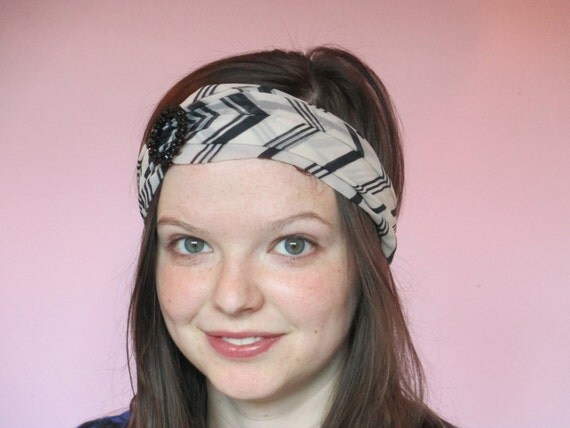
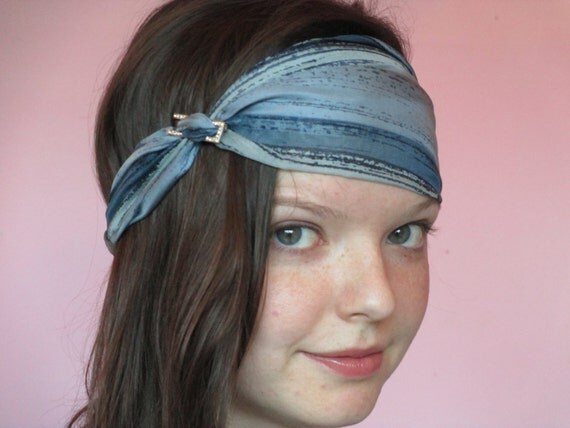
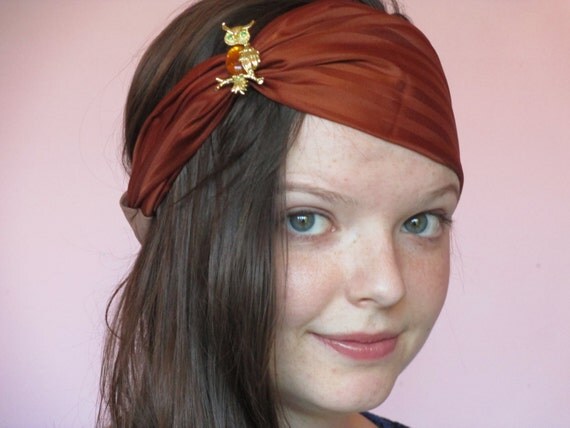
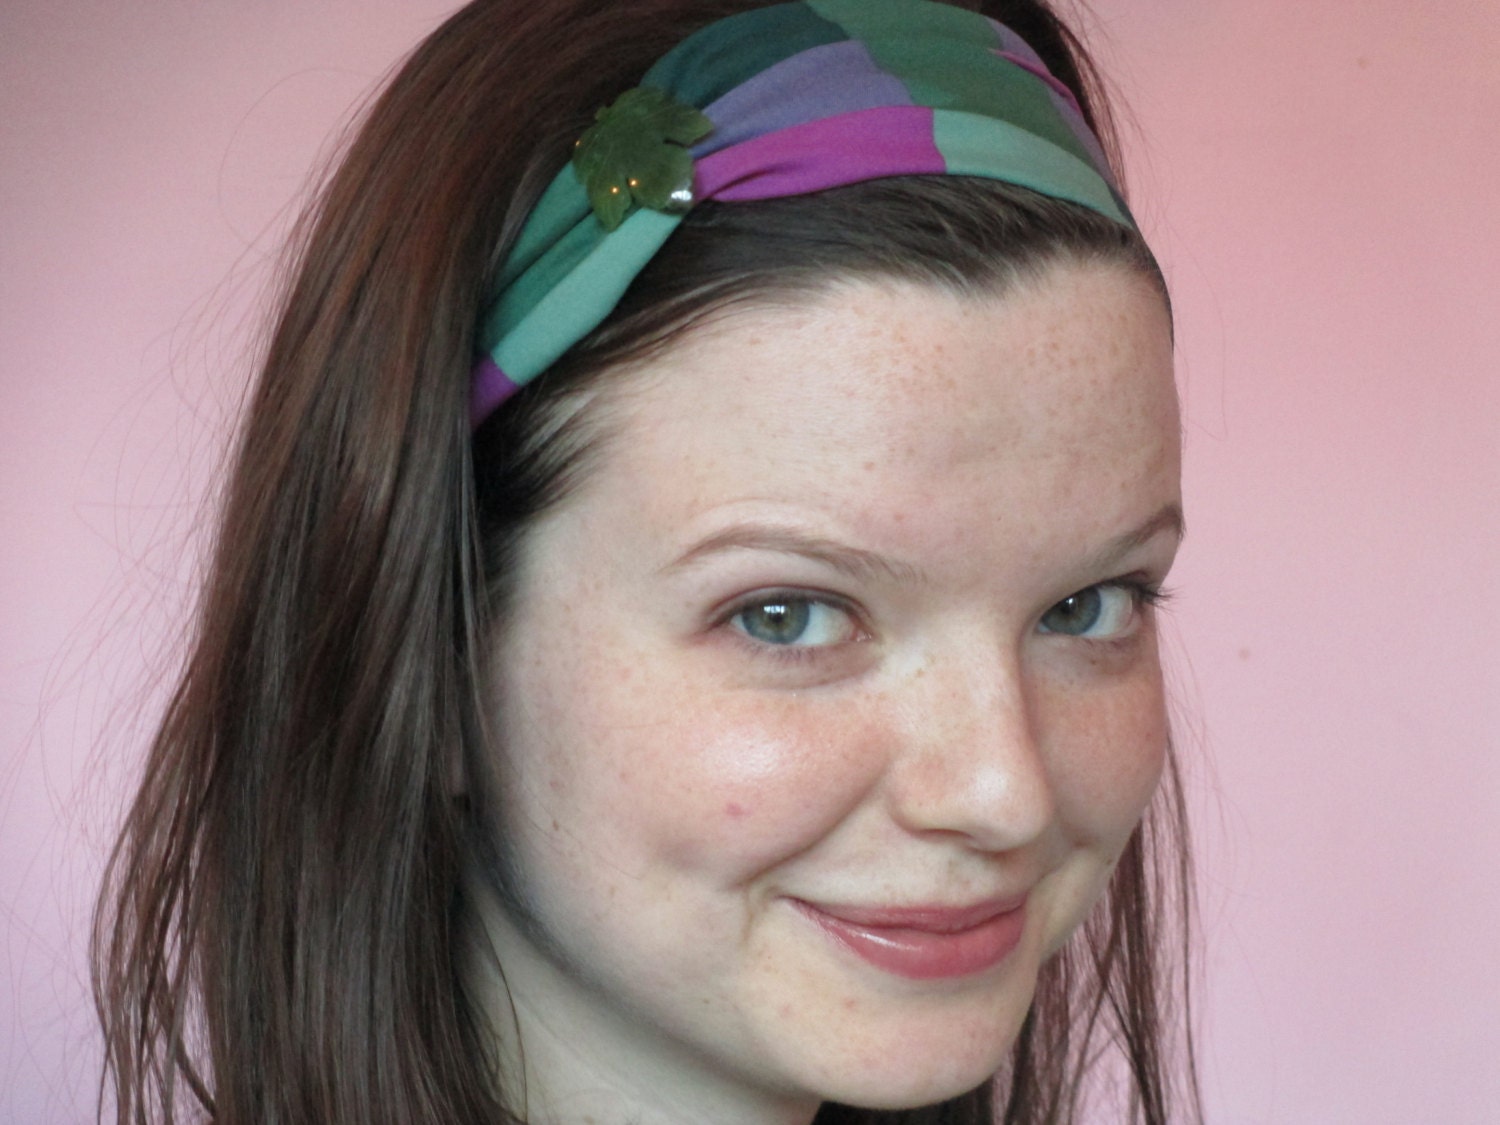
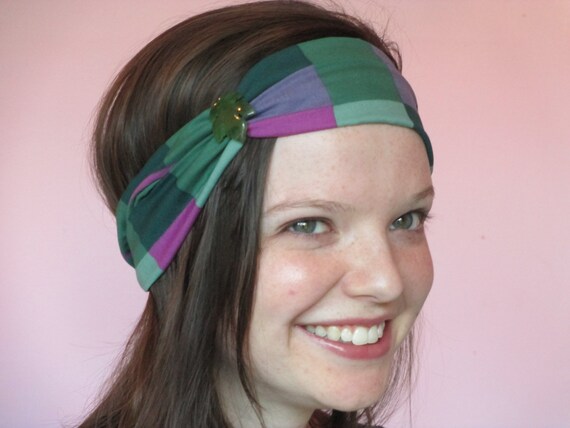
Turban Style Headbands


There have been many, many more over the years.  This means that I have loads of handmade accessories hanging out at my house in boxes.  I very rarely want to wear my own stuff, I guess it has something to do with having the wider world in mind while I'm making it.

Recently I read that listing around 50 items makes views jump.  I knew that making and listing that much new stuff would be pretty difficult.  I looked around, and browsed my inactive listings.  There was some great stuff in there.  Some pictures needed to be improved, but taking a picture is a hell of a lot easier than making a whole new item.

So, here's my declaration.  I have decided that I don't care about consistency.  Consistency is boring, and creating should be anything but boring.  I think that my own voice is strong enough to make my shop just that; a shop.  Shouldn't a shop, like a boutique, have many different types of accessories?  If I walked into a shop that had only one type of design repeated over and over and over again with the only variety in color, I would walk right back out the door!  I don't see why my etsy shop should be any different.

Wednesday, February 13, 2013

Many Faces of Me

I've been in a relationship since I was 18 years old.  So, I have never been alone as an adult.  I think during the six years that I have been with Mitchell, I have started to ignore my appearance more and more.  In a way I think that is one of the benefits of being in a committed long term relationship.  You can learn not to obsess about your own faults.

Since we broke up, I have been wondering about my own face.  Now that I don't have consistency, I have realized that I really don't know what I look like.  It's hard to have any perspective on my appearance, or even the appearance of people closest to me.  Their essence becomes plastered all over their face, and it's impossible to separate the two things back out.  It makes me think of this lovely quote from Doctor Who:

"Then there's other people, when you meet them you think, "Not bad. They're okay." And then you get to know them and... and their face just sort of becomes them. Like their personality's written all over it. And they just turn into something so beautiful."

I know that this time in my life is an opportunity to get to know myself.  I'm starting with my face.  For the first time, I'm marketing my products on myself, and you can actually see my face.  I've been  
surprised at the way they turned out.

I've been able to get a certain about of objectiveness out of them, since I've started to see the photos as products.  Every time I see them, I try to think about what my face is saying.  Weird how hard it is to interpret your own face. So, the many faces of me!
Not sure why you're taking a picture,
but here's a smile.
I know something you don't know!
I am hiding behind my hair
You are being very silly, but I am
going to choose to tolerate you
Happy!
I hope it doesn't seem vain that I have plastered my blog with pictures of myself.  It's really just for me.  So I guess it's just self-centered!

All of the headbands are for sale here http://www.etsy.com/shop/RooTwo

Friday, October 5, 2012

Winner!

Michelle Wong is the winner of the custom friendship bracelet contest!  Here is her custom bracelet in greens, yellows and brown.


If you're super jealous of Michelle's awesome bracelet go here to order your own https://www.etsy.com/listing/107457506/custom-made-friendship-bracelet

Let me know colors, patterns, and anything else you want.  I'll try to make it happen.

Tuesday, September 11, 2012

Tarot Find

My boyfriend found these amazing vintage tarot cards.  I love them, and I'm going to figure out something really cool to do with them.  When I do, you'll be the first to know!


Friday, September 7, 2012

Beans


I was soaking beans for dinner tonight, and was struck by the beautiful colors, the way the water magnifies each bean, and the wrinkled patterns on some of them.   I just had to take a picture of them.

On another note, apparently beans and rice are better for you together.  My mom read that somewhere, and cites it almost every time I tell her that I'm trying to figure out what to make for dinner!

Saturday, August 25, 2012

Kiva Team Treasury

Kiva Team Treasury


Check out this treasury of items that benefit kiva.  Kiva is a microlending site, where small loans from real people make a difference in the lives of individuals, families, and communities.  http://www.kiva.org/

Wednesday, August 15, 2012

Friendship Giveaway

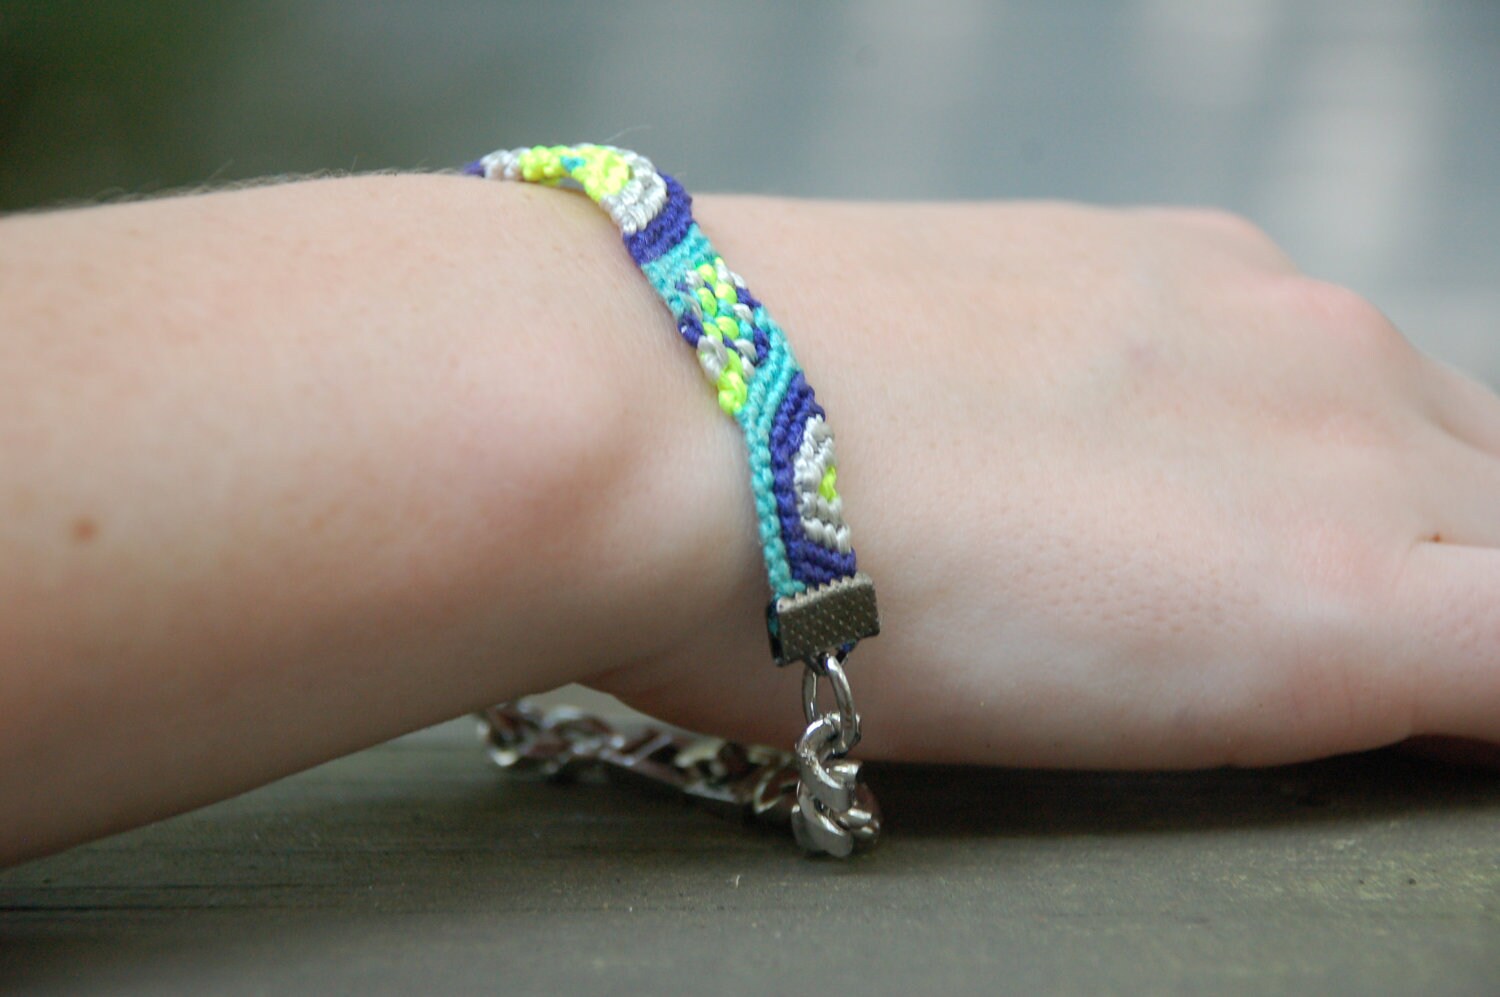
Friendship is free, and so is a custom bracelet or necklace made by me. Here are the styles that you can choose from http://www.etsy.com/shop/RooTwo.  All of the pieces are inspired by the friendship bracelet, but have a sophisticated twist.

To enter the giveaway pick your favorite design, and let me know what your favorite color combo is right now, by commenting below.  Also be sure to leave your email, so I can contact you if you are the winner.  If you are randomly selected, I will make your design for you.

I'm so interested to read your comments.  So get to writing and thinking about color!

Wednesday, July 4, 2012

Full Circle

The friendship/camp bracelet trend is everywhere right now.  I've been somewhat obsessively working on a few of my own little twists on the trend, and frantically trying to get them posted in my shop.  I love mixing mediums and materials, so macrame mixed with all of the other styles of jewelry that I've worked on in the past is just what I've been looking for to get my creative juices flowing.

So yesterday in the midst of all of my mad designing and knotting, I suddenly realized that I am 7 again.  At around that age I bought a Klutz book that had instructions for bunches different types of friendship bracelets.  I got a bit stuck making stripes.  I was 7 after all, and had only just figured out how to braid.  But once I FINALLY figured out the chevron pattern, I was a bracelet making machine.

At the same time in my second grade class, my awesome teacher set up a whole little main street economy.  We worked in pairs at assigned stores.  I specifically remember the bakery (which was obviously the best), but I sold magazines, which was pretty definitely the most boring station.  So...I'm sure you already know where this is headed...my friend Valerie and I opened a jewelry business, where we sold top quality friendship bracelets.  I don't remember how popular our shop was, but I do know that it was WAY better than magazines.
I've come full circle.  Here I am at, 24 pursuing my dream at 7.  How could I have forgotten my macrame dreams!  So glad I found them again.  

Thursday, February 16, 2012

Flower Hairpiece Tutorial

One of the great things about this project is that it has a lot of room for creativity and experimentation without necessitating any fore-knowledge.  If you know how to wield some scissors and a glue gun, you are already on your way to creating flower hairpieces.  It's a great way to play with colors and use a variety of different materials.


You'll need:
1. Fake Flowers- the ones I used are made of thick paper (I got them from AC Moore)
2. Glue gun
3. Alligator hair clips
4. Scissors
5. Felt
6. Odds and ends (Sequins, sharpies, a matchless earring, and tulle.  In other pieces I have used buttons and ribbon.)

Cut a piece of felt as your anchor for the flowers.  I have found that a kidney shape works well.  The anchor should be 3-4 inches long and 1-2 inches at the widest point.  These are of course just suggestions, if you want to make more of a statement go BIGGER!

Choose flowers that go well together and arrange them on top of the felt anchor.  Do your best to cover all of the felt.  Try to layer the flowers on top of each other to create depth.  Place sequins and buttons over the flowers, until you are reasonably pleased with the result.  I find that it isn't necessary to reach perfection before gluing.  It's often easier to place one or two flowers, and work around them.

I started gluing on the largest side of the kidney shape, with one two layered flowers, and moved to the other side, gluing a few flowers at a time.

To create some height, I used tulle.  I wanted to replace the height usually achieved with feathers with a more animal friendly alternative.  To create the tulle accent, cut out a circle of tulle, about 4 inches across.  Cut a pie piece out of the circle that is 1-2 inches around the "crust."  With the remaining circle fold the tulle accordion style, flattening out the fan shape.  Put a dot of glue on the tulle underneath the flower petals, then press the "handle" of the fan into the glue.  Spread the fan out, and glue the edges down on the felt, underneath the petals.

I placed glue dots on the tulle fan, and after they dried, colored the glue dots with a sharpie.  An alternative is to glue sequins or beads on the tulle fan.  You can also glue a ribbon bow as an accent.  After placing the finishing touches on the hairpiece flip it over.

Place a stripe of glue on the back side of the hairpiece, and stick the alligator clip down on it.

Carefully open the clip, being careful not to unstick the bottom.  Put another stripe of glue, and place a piece of felt in between the two sides of the clip.  Let the clip close, after the glue dries trim around the edges of the new piece of felt.

When you put the hairpiece up to your head, you will notice that one side sticks up because of the hinge.  To fix this, place a bit of glue near the hinge, and carefully bend the felt around the clip.  Hold this in place for a few seconds until it dries to make the clip rounded.


You now have a beautiful cruelty-free hairpiece.  Enjoy, and add a little pizzazz to your next outfit!

Saturday, January 7, 2012

Designing with Roo


We're changing a few things around the ajoeynamedroo shop.  First, as you can see here, some of our design elements.  "Roo" is making appearances everywhere; the blog, the banner, even the products.  Mitchell, my helpful and talented boyfriend has been hard at work updating everything!  The labels are on their way out 1 by 1.  Here's our first one, Free Love:


It's amazing how invested we've become in the new labels.  They feel like our babies.  So much arguing, compromise, and embarrassingly tears (mine) went into them.  When I saw the actual printed labels, I couldn't stop gushing.  Just like any proud parent, I can't imagine anything more beautiful.

Also expect some changes in our lotion scents in the near future.  We're keeping similar themes, but using mixtures of essential oils to achieve our delicious scents.  Can't wait for our new order of supplies to come in so we can get started!

Look out for our new scent combos in the next few days.

Sunday, December 11, 2011

Ecofriendly Giftwrapping


As far as I'm concerned, the way a gift is presented is half the beauty of giving or receiving a package.  In past years, I've done traditional wrapping paper with bows and ribbons, but this year I wanted to do something different.  I wanted to use materials I already had instead of buying new rolls of expensive paper.  

I used old, brown paper grocery bags as the wrapping paper.  The plain paper is a great background for beautiful embellishments.  I made delicate tissue paper and fabric rosettes with silver glitter centers -   they were super easy and look gorgeous against the brown paper. 


Instructions:

To make your rosettes, you will need:
Fabric scissors
Tissue paper
Fabric Scraps (tulle and lace would look lovely too)
Glue Gun
Glitter or small beads


Step 1:  Cut small (1-2 inch) circles from the fabric and tissue paper. 
Step 2:  Place a small drop of glue in the center of a tissue paper and pinch the circle together to create folds.


Step 3:  Layer 3-4 circles on top of one another, pinching each one to create folds and gluing it to the next.  
Step 4:  Place a small drop of Elmer's glue in the middle of the flower.  Shake on some glitter, or glue a small bead in the center.


You're done!  Glue or tape flowers to your packages.


Happy crafting!.love.Rachel